
Prérequis
|
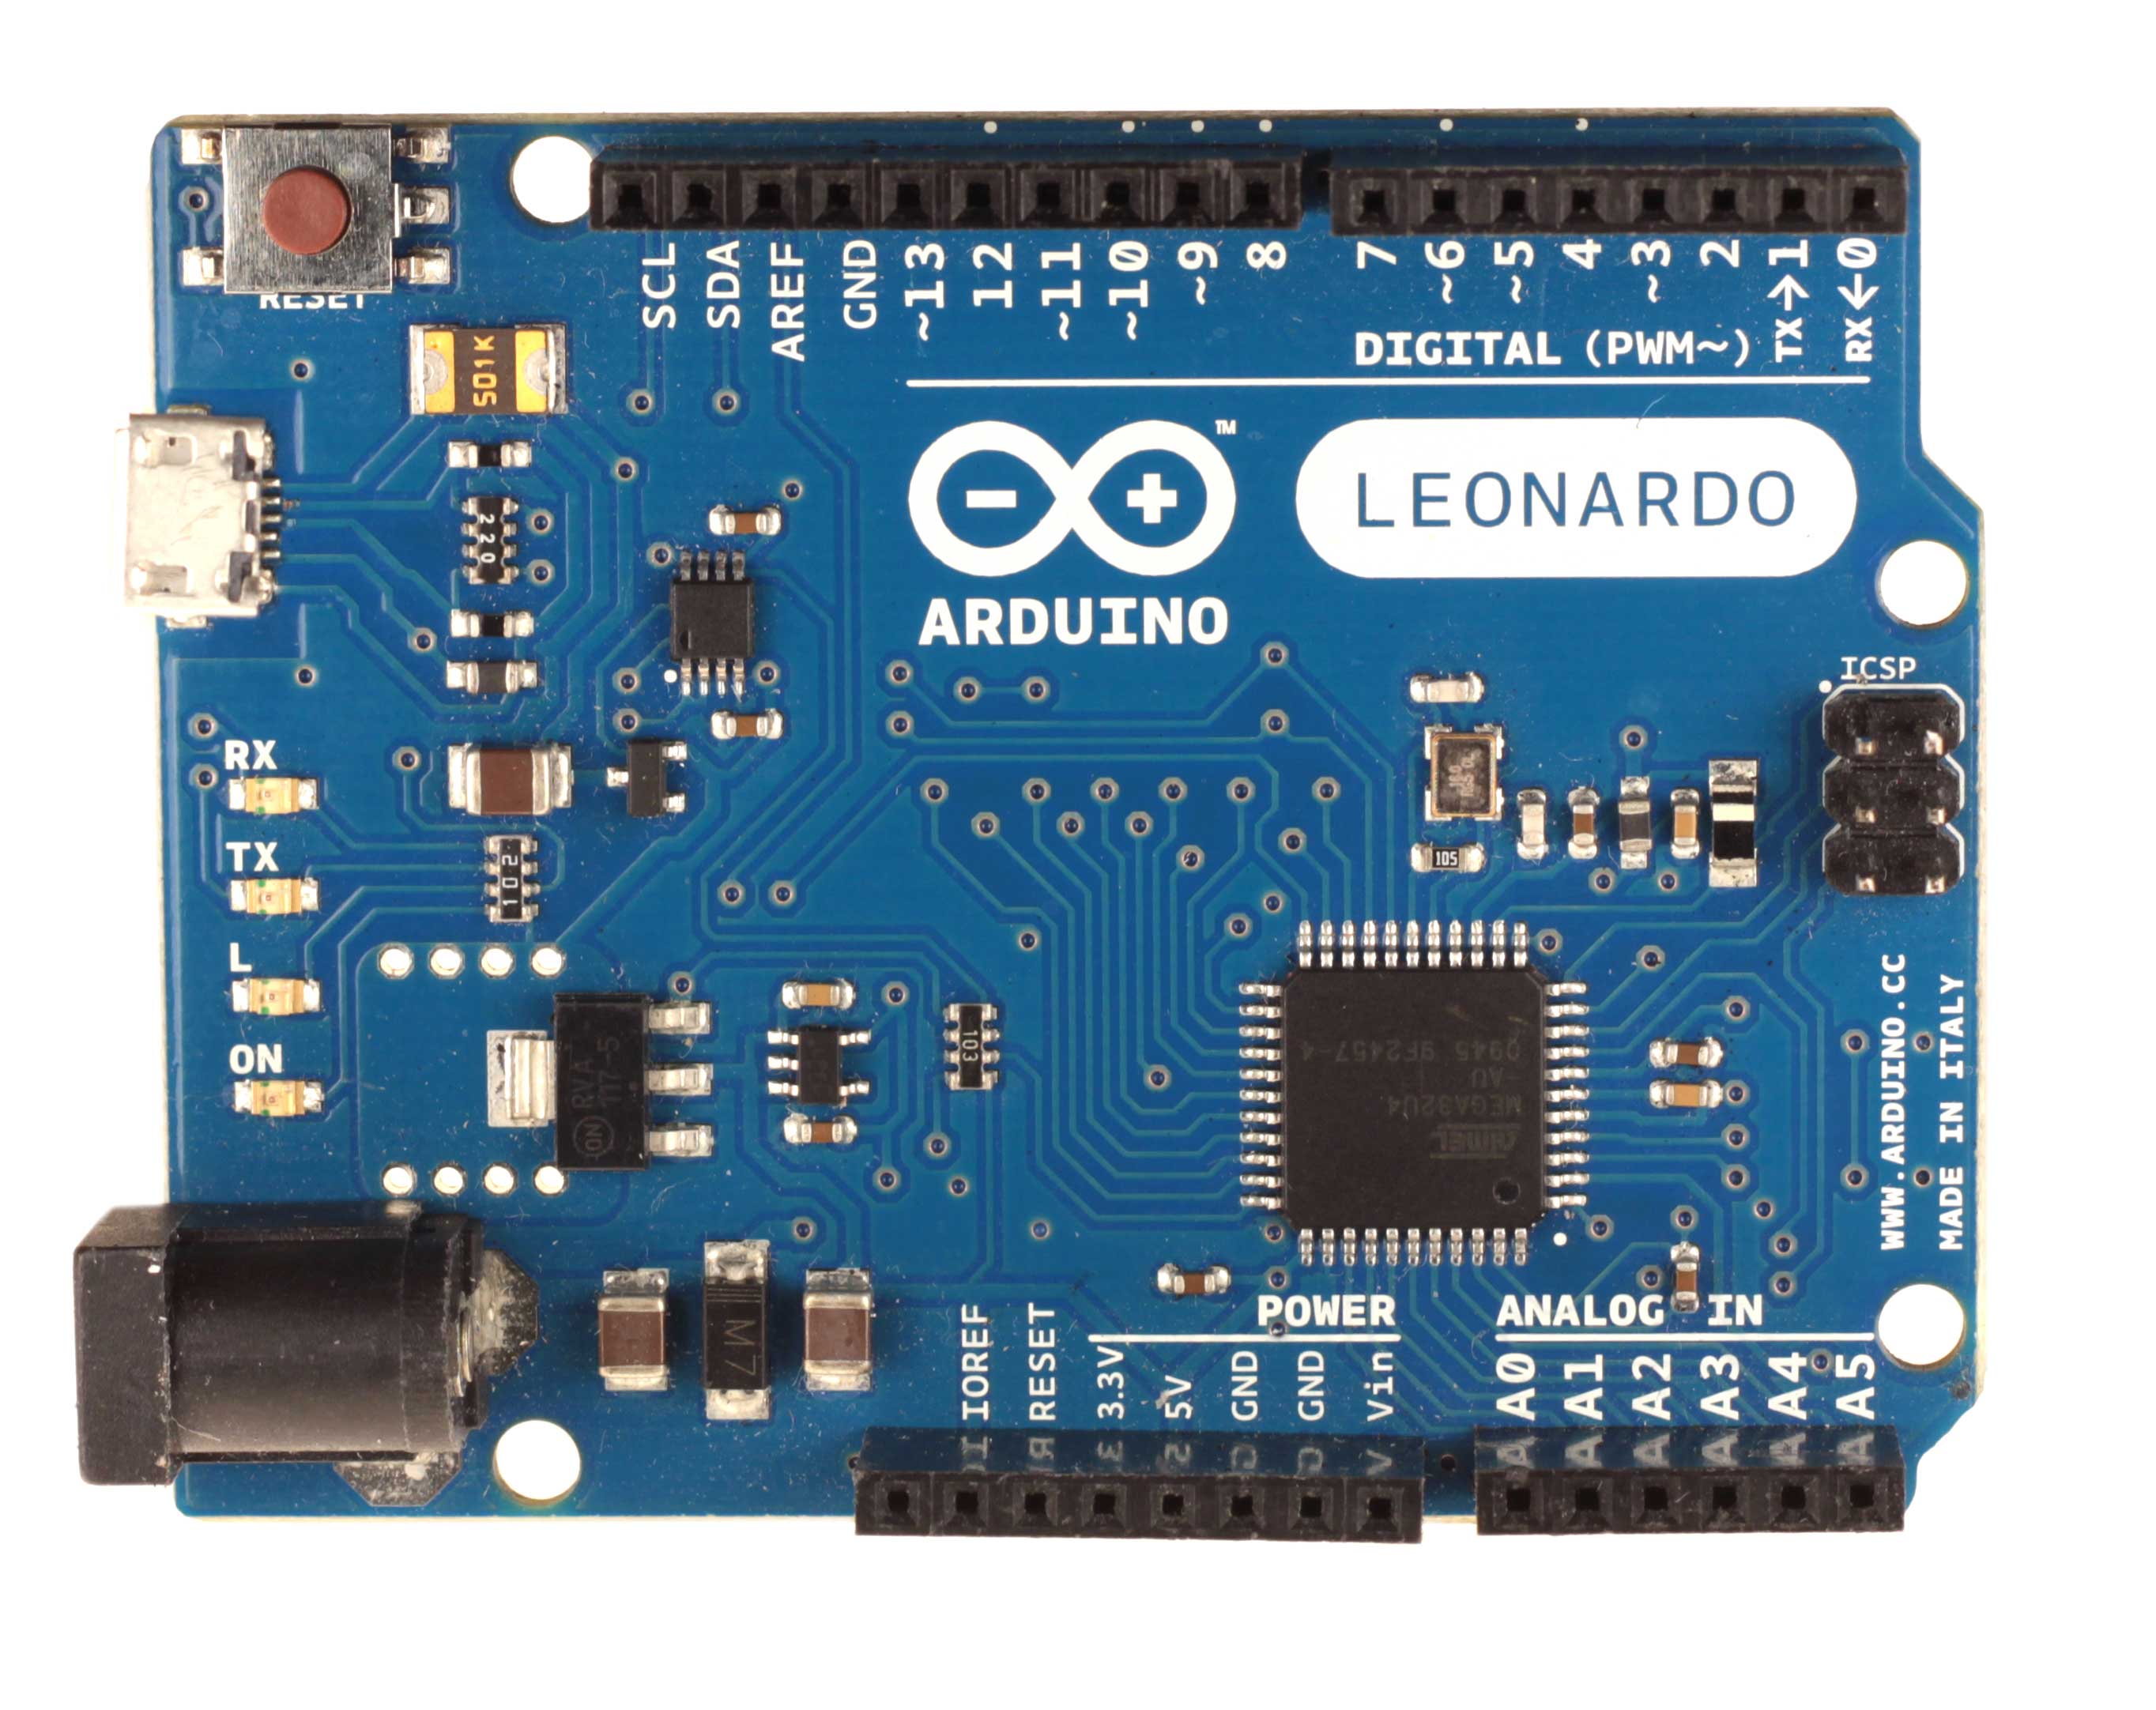
Arduino Leonardo[1] |
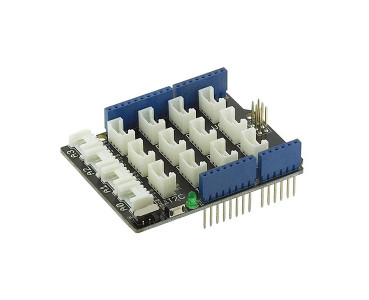
Module Grove Base Shield[2] |
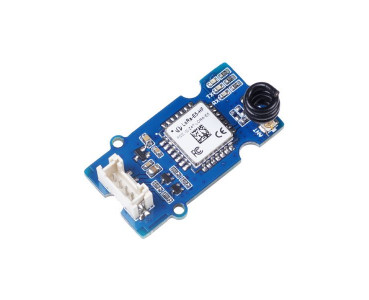
Module LoRa-E5 Grove[3] |
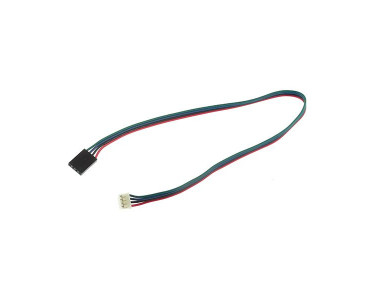
Connecteur UART[4] |
 |
 |
 |
 |
Afin de mettre en place cette communication, j’ai dû m’inspirer du code de Sylvain Montagny présent sur son github[5].
Pour simplifier les choses, j’ai séparé la partie réception de la partie transmission mais chaque carte est en mesure d’envoyer et recevoir des informations.
Les prochaines illustrations et tests ont été effectués à l’aide du logiciel « Arduino IDE » téléchargeable sur cette page[6].
Branchements
L’installation du module est rapide et simple. Il faut premièrement installer le shield sur la carte. Puis connecter le LoRa-E5 au Shield à l’aide du connecteur UART. Il faut brancher le module LoRa-E5 au port UART du shield. Une fois cela fait, tout les branchements nécessaires auront été effectués.
Programmation
Il suffit de mettre dans un même dossier les trois fichiers respectivement nommés lora.ino, lora.h et lora.cpp.
lora.ino
#include « lora.h »
#define Debug_Serial Serial
#define LoRa_Serial Serial1#define RX_PIN 0
#define TX_PIN 1
uint8_t sizePayloadDown = 0;uint8_t payloadUp[20] = { 0x00, 0x01, 0x02, 0x03 };
uint8_t payloadDown[20] = { 0 };lora lora(RX_PIN, TX_PIN);
String user_input;
bool receptionMode = false;
void setup() {
lora.setup_hardware(&Debug_Serial, &LoRa_Serial);
lora.checkTheBoard();
Serial.println(« > LoRa-E5 ready to get commands…\n »);
}
void loop() {
while (Serial.available()) {
user_input = Serial.readString();
user_input.trim();
Serial.print(« Commande : « + user_input);
lora.sendData_pp(user_input);
if (user_input.startsWith(« AT+TEST=TXLRSTR »)) {
Serial.println(« Message sent : « + user_input.substring(18, user_input.length()-1));
}
if (user_input == « AT+TEST=RXLRPKT ») {
Serial.println(« +—————————-+ »);
Serial.println(« | Entering reception mode… | »);
Serial.println(« +—————————-+\n »);
receptionMode = true;
while (receptionMode) {
user_input = Serial.readString();
user_input.trim();
lora.receiveData();
if (user_input.equals(« EXIT »)) {
Serial.println(« +—————————+ »);
Serial.println(« | Exiting reception mode… | »);
Serial.println(« +—————————+\n »);
receptionMode = false;
}
}
}
}
}
lora.cpp
#include <Arduino.h>
#include <HardwareSerial.h>
#include « lora.h »
static char recv_buf[512];
static bool is_exist = false;
lora::lora(byte RX_PIN, byte TX_PIN){
this->RX = RX_PIN;
this->TX = TX_PIN;
}
byte lora::getRX() {
return this->RX;
}
byte lora::getTX() {
return this->TX;
}
void lora::setup_hardware(Serial_* myDebugSerial, HardwareSerial* myLoRaSerial){
unsigned long startTime = millis();
this->serialD = myDebugSerial;
this->serialL = myLoRaSerial;
(this->serialD)->begin(115200);
(this->serialL)->begin(9600);
while (millis() – startTime < 2000);
}
bool lora::checkBoard(){
bool success;
delay(500);
SERIAL_L(« AT »);
SERIAL_D(« \n\n\n\n »);
if ( (success = checkResponse(400,« +AT: OK\r\n »,NO_DEBUG)) == false){
SERIAL_D(« > LoRa-E5 board not detected … »);
}
else{
SERIAL_D(« > LoRa-E5 board detected … »);
}
return success;
}
void lora::checkTheBoard() {
while (!checkBoard());
}
bool lora::checkResponse(uint32_t timeOut, char *strCheck, bool debug){
uint32_t tstart = millis();
uint8_t i=0, checkSize = strlen(strCheck);
char c;
bool success = false;
while (millis()-tstart < timeOut){
if((this->serialL)->available() > 0) {
c = (this->serialL)->read();
if (debug == DEBUG){
(this->serialD)->print(c);
}
if( c == strCheck[i] ){
if (i == (checkSize-1)){
success = true;
}
else{
i++;
}
}
else{
i=0;
}
}
}
return success;
}
void lora::readResponse(uint32_t timeOut, bool debug){
uint32_t tstart = millis();
while (millis()-tstart < timeOut){
if((this->serialL)->available() > 0) {
if (debug == DEBUG){
(this->serialD)->print((char)(this->serialL)->read());
}
else{
(this->serialL)->read();
}
}
}
}
void lora::sendData_pp(String str) {
String response;
bool received_message = false;
(this->serialL)->print(str);
response += (this->serialL)->readString();
SERIAL_D(response);
}
// FUNCTION TO RECEIVE DATA
void lora::receiveData() {
String data;
data = (String)(this->serialL)->readString();
data.trim();
if (data.startsWith(« +TEST »)) {
(this->serialD)->println(data + « \n »);
}
}
lora.h
L’étape suivante consiste à téléverser le code, ouvrir la console (Serial Monitor) et taper les commandes que vous voulez :
| Commande | Description | Réponse attendue | Image | |
| AT | Commande pour vérifier le bon fonctionnement du module LoRa-E5 | +AT: OK | ||
| AT+MODE=TEST | Définit le mode en TEST. La transmission RX et TX ne peut pas se faire si vous n’êtes pas en mode TEST |
+MODE: TEST | Image manquante pour l’instant | |
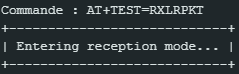
| AT+TEST=RXLRPKT | Seulement en mode TEST Passe en mode réception |
Entering reception mode…
Pour sortir du mode réception, taper EXIT |
 |
|
| EXIT | Seulement en mode TEST Sortie du mode réception |
Exiting reception mode… | 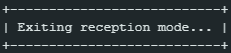 |
|
| AT+TEST=TXLRSTR, « msg« | Seulement en mode TEST Envoie un message via LoRa Remplacez msg par le mot que vous voulez envoyer |
Message sent : msg |
S’il y a un problème, le module LoRa-E5 vous le fera savoir. Consultez cette page[7] pour connaître la signification des erreurs que vous pourriez recevoir.
Références
[1] « Leonardo | Arduino Documentation ». Consulté le 26/09/2024. [En ligne]. Disponible sur https://docs.arduino.cc/hardware/leonardo/
[2] « Module Grove Base Shield 103030000 Seeed Studio – Shields et cartes d’interface | GO TRONIC ». Consulté le 26/09/2024. [En ligne]. Disponible sur https://www.gotronic.fr/art-module-grove-base-shield-103030000-19068.htm
[3] « Module LoRa-E5 Grove 113020091 Seeed Studio – Communication | GO TRONIC ». Consulté le 26/09/2024. [En ligne]. Disponible sur https://www.gotronic.fr/art-module-lora-e5-grove-113020091-33673.htm
[4] « Cordon Gravity I2C et UART FIT0513 DFRobot – Connectique et accessoires | GO TRONIC ». Consulté le 26/09/2024. [En ligne]. Disponible sur https://www.gotronic.fr/art-cordon-gravity-i2c-et-uart-fit0513-27871.htm
[5] « SylvainMontagny/LoRaE5 ». Consulté le 26/09/2024. [En ligne]. Disponible sur https://github.com/SylvainMontagny/LoRaE5/tree/main
[6] « Software | Arduino ». Consulté le 26/09/2024. [En ligne]. Disponible sur https://www.arduino.cc/en/software
[7] « Communication avec des modules LoRa-E5 ». Consulté le 26/09/2024. [En ligne]. Disponible sur https://nasfamilyone.synology.me/TutoElectroWeb/Tuto/Tuto_STM32/LoraE5/
[8] « seeed-lora/Grove-LoRa-E5-P2P-Example: Point-to-Point Transmission with Grove – LoRa-E5 ». Consulté le 26/09/2024. [En ligne]. Disponible sur https://github.com/seeed-lora/Grove-LoRa-E5-P2P-Example
